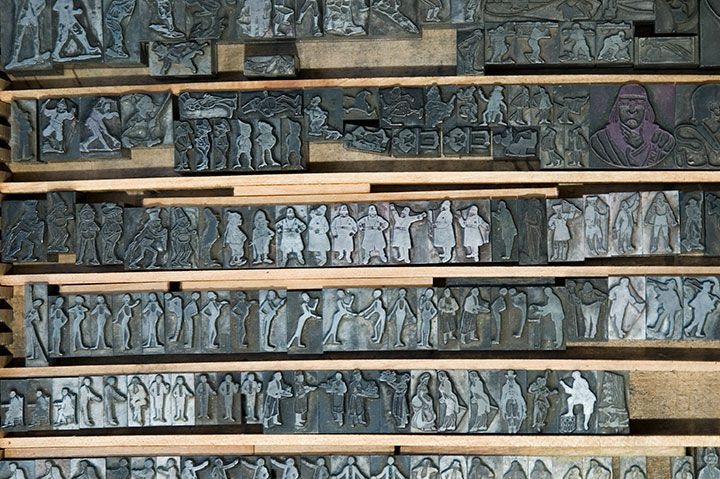
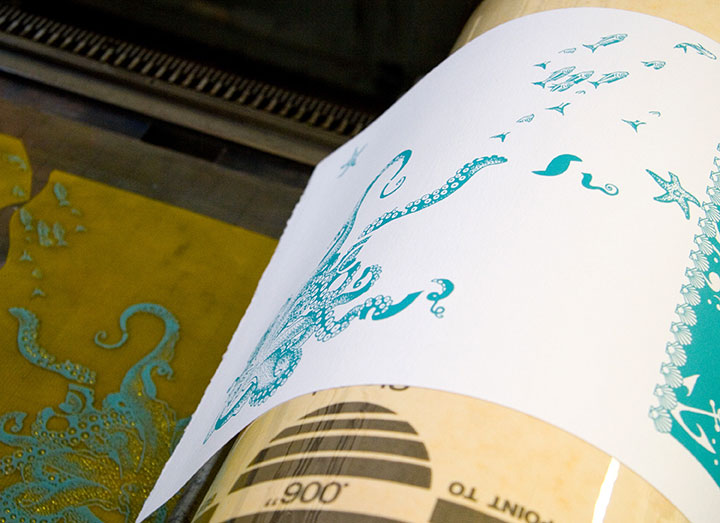
When it comes to letterpress printing, process is everything. And since that process is not always evident in the final product, I thought I’d share the technical aspects of the Dead Feminists series. Now, as I said in the last post, letterpress printing is traditionally done using metal or wooden type—or in the case of the photo above, relief images cut into type-high (.918 inches in the US and UK, in case you wondered) blocks. What Jessica and I have been doing, however, ain’t your grandpa’s letterpress. Thanks to a fairly new technology called photopolymer, we’re able to create our own relief plates right in the studio, without having to carve a block by hand or etch a plate with nasty chemicals. Photopolymer has also created a bridge between the traditional print shop and the modern digital world—as you’ll see in a moment. As far as the Dead Feminists go, Jessica and I still have both feet firmly planted in the traditional world—we just dip a toe into the digital realm now and again. Here, let me explain.

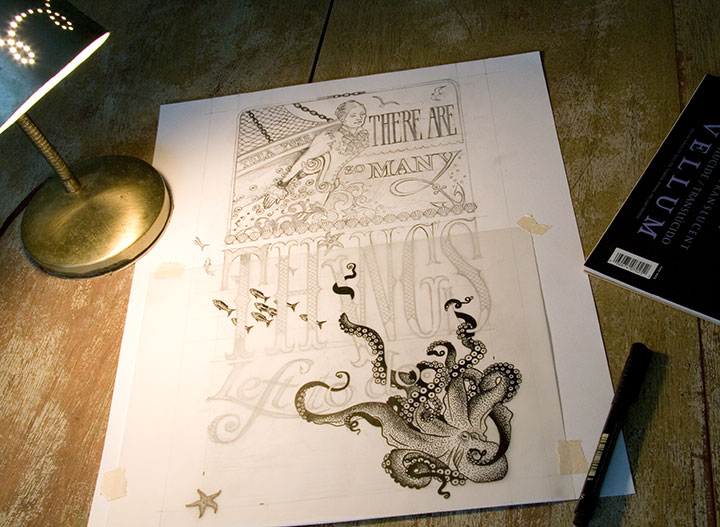
This is how it begins for each print: a pencil drawing, at full size. This is the stage where I not only design and illustrate the piece, but also start thinking about color choices: what the colors will be, what element will be which color, where the colors will overlap, how to make things work logistically. Now, this pencil layout isn’t enough to make a plate; for the photopolymer process to work properly, I have to translate the sketch into a solid black-and-white ink drawing.
After everything is pencilled in, I lay a sheet of vellum over the drawing and trace everything in ink.
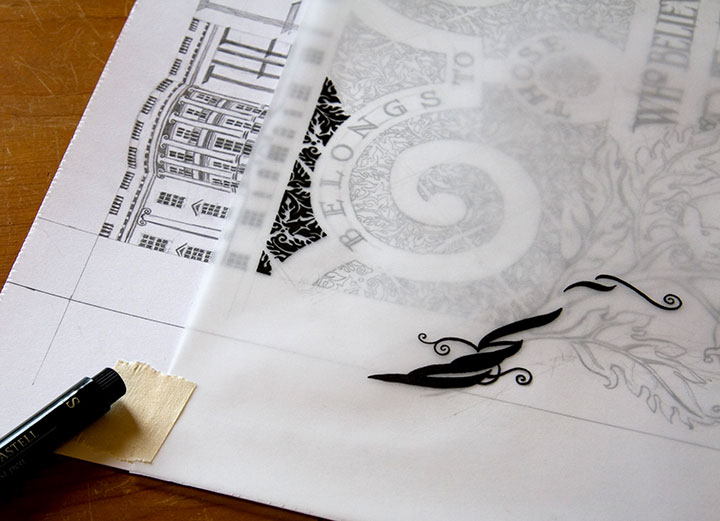
Since each broadside is printed in two colors, each color means a separate run through the press. So as a result, I had to trace each color separately—being careful to stay as true as possible to the original drawing, since the colors had to line up exactly on press. If you were to line these two color separations up, on top of one another, you’d see how the colors will interact in the final piece.
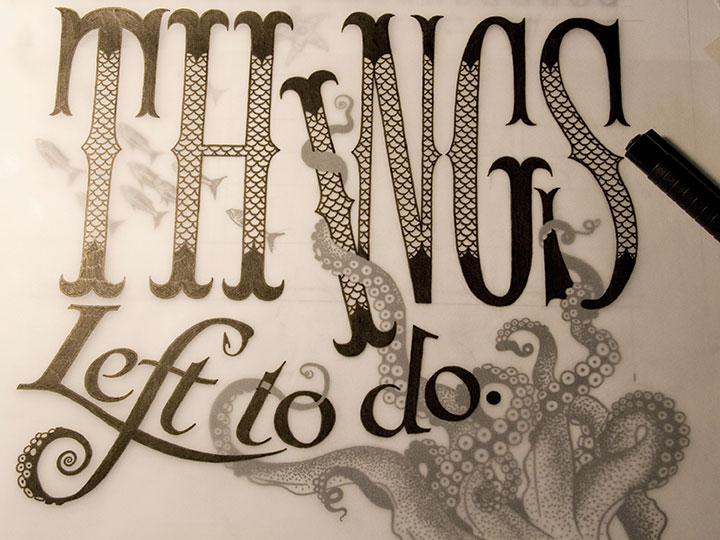
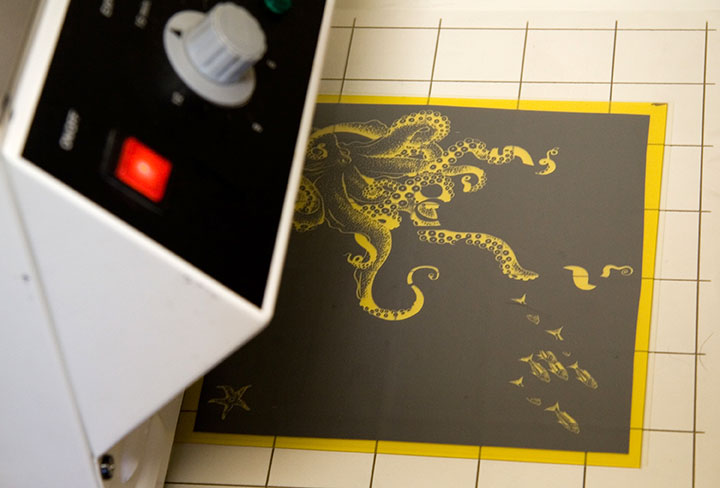
Here’s what I mean. You can see the separation that will become the grey color in Tugboat Thea here, laid directly over the inked octopus below. This is definitely the old-fashioned way of doing things; there are plenty of digital methods of color separation. I guess I just prefer the physical connection between the pen and the hand—even despite the greater risk of screw-ups (as you can see if you look closely at the word “to” above).
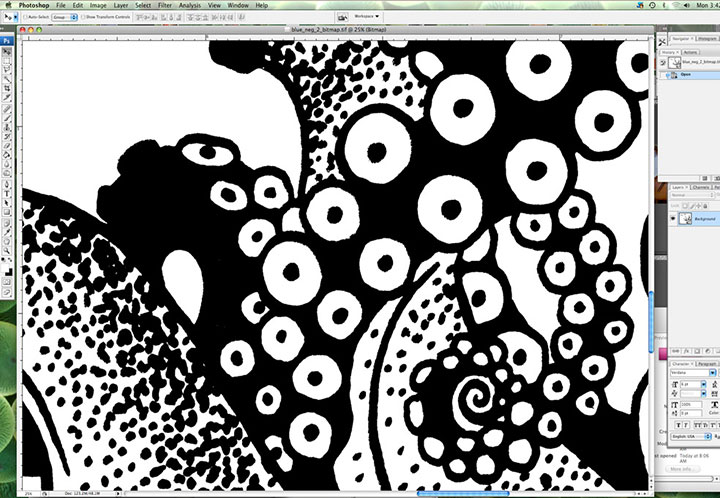
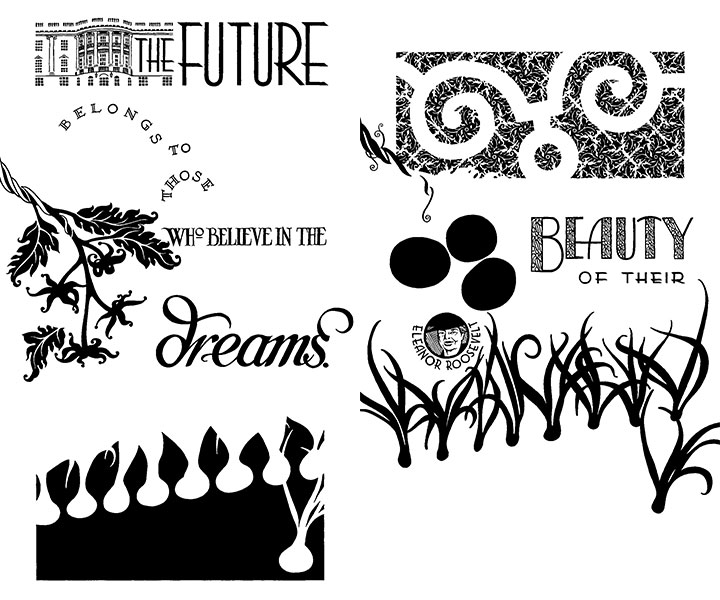
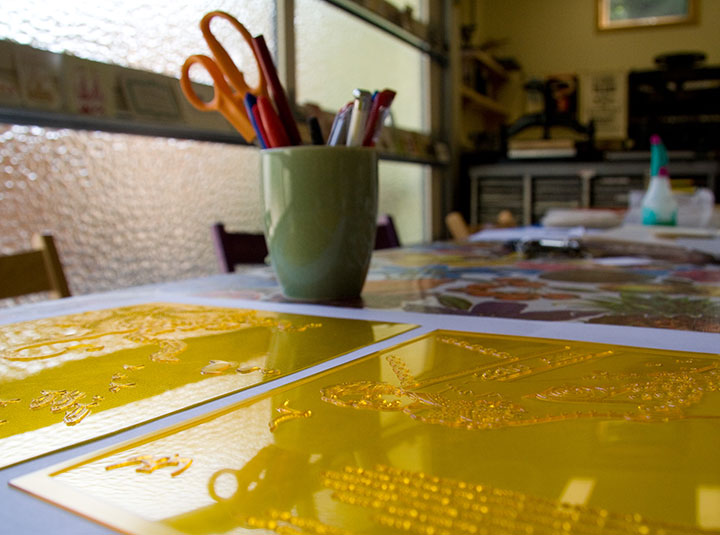
Here’s where I dip that toe into digital waters. Once I’m finished inking, I scan the finished line drawings at a super-high resolution and load them into Photoshop. This is where I clean up any mistakes (ahem) and convert the drawings into bitmap (pure black and white, with no grey) files. Jessica sends me her written colophon, and I set the text digitally. Then I export everything to the proper file type, and send the files to a local service bureau to have film negatives made. So now we’ve gone from analog to digital and back again.
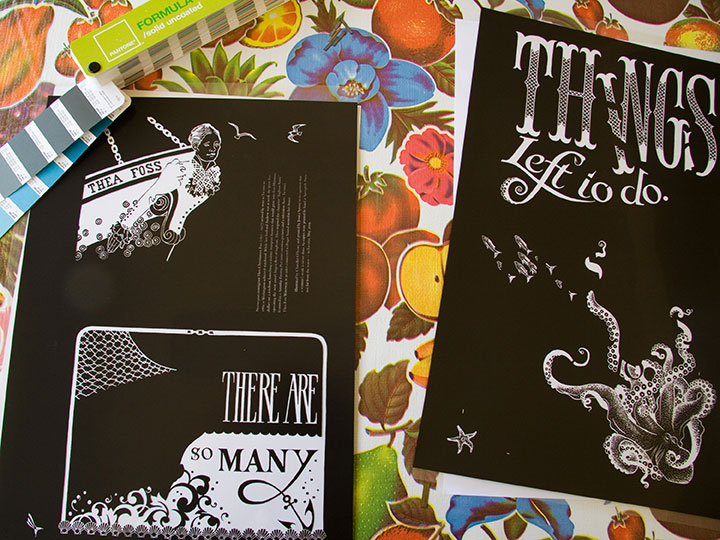
Here are the negatives for Tugboat Thea; grey separation on the top half of each one, teal on the bottom. As you can see, there aren’t any right angles in the bottom half (octopus) of the teal separation, so if you look closely you can see the little tick marks I added (above and to the right of the starfish) to aid with color registration. Those marks line up with a grid etched on the metal base we use to lock up the plates on press; once we had the plates exactly where we wanted them, I simply shaved those little tick marks off with an Xacto knife, so they’d no longer print. Real slick.
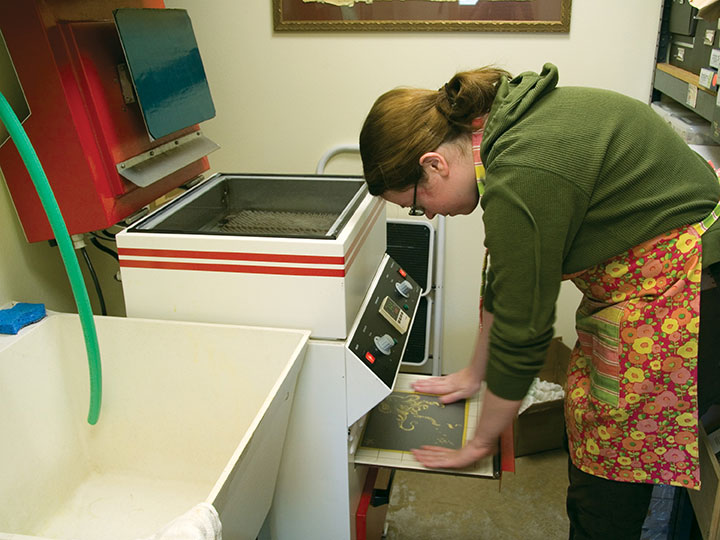
Anyway, photopolymer is a light-sensitive plastic that works just like making a contact exposure in a darkroom does. First I take a negative, place it face-down on an unexposed plate, and load both pieces onto the exposure tray of Jessica’s platemaker (which looks remarkably like an Easy-Bake Oven).
The negative is held flush with the plate by a layer of plastic and a vacuum system; the plate is exposed with UV light (some DIY enthusiasts also accomplish this using glass and a bright, sunny day, but photopolymer is awfully expensive to use in sketchy experiments in the cloudy Northwest).
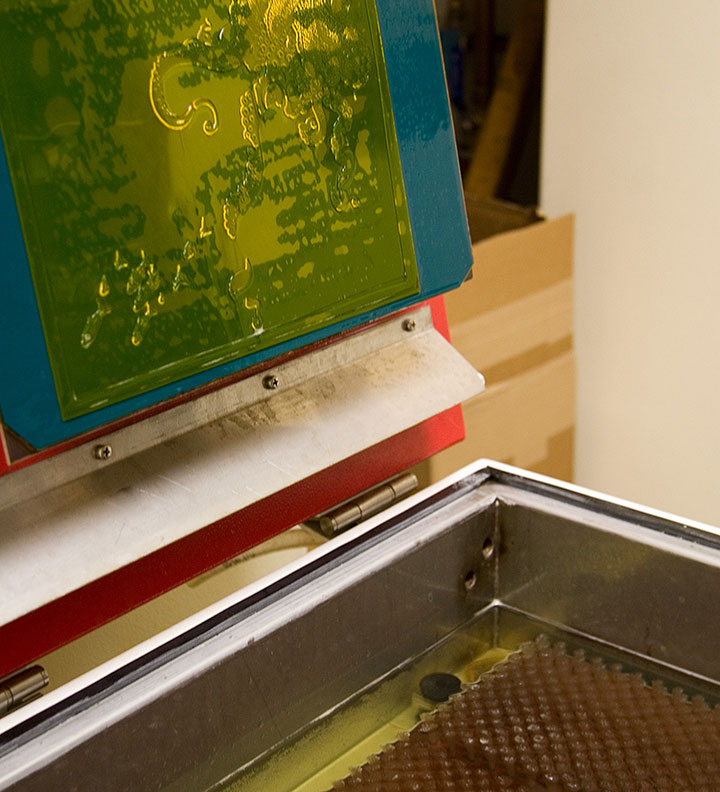
Next I place the exposed plate in the wash-out unit, where it is scrubbed gently with soft bristle brushes in a tank of cool water. Everything that is exposed is hardened enough to resist scrubbing, while everything else dissolves away. (And turns the water a sickly shade of yellow. Mmmm….plastic byproducts. Still, it’s less toxic than many other printmaking techniques.)
What we’re left with is a raised plate ideal for relief printing. The real benefit of photopolymer is that it can reproduce nearly any image, and can hold an incredible amount of detail. I can transfer my drawings directly to the plate, without adding the laborious step of carving the image into wood or linoleum (backwards!), or etching copper with acid, for example. It’s not exactly an economical option for letterpress printing, but the results can be exquisite, and the possibilities are nearly endless.
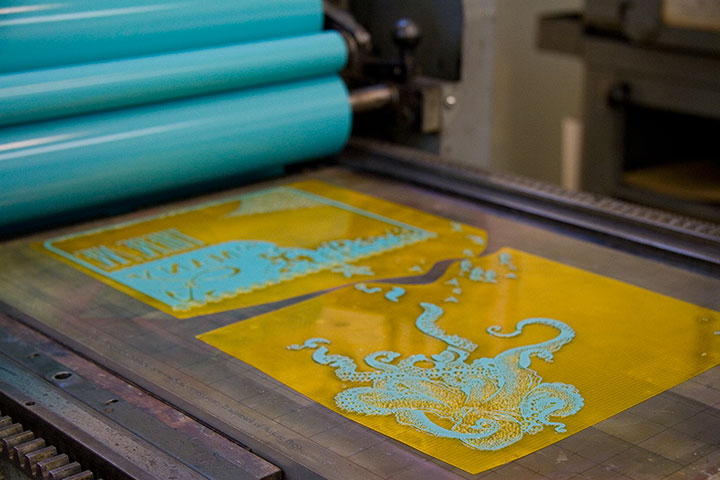
Here’s our new octopus plate on press, all inked up and ready to print—it’s stuck to that gridded base with removable adhesive. The thickness of the plate and base together add up to exactly .918 inches. Ah, precision feels good.
And here’s how it looks on paper.
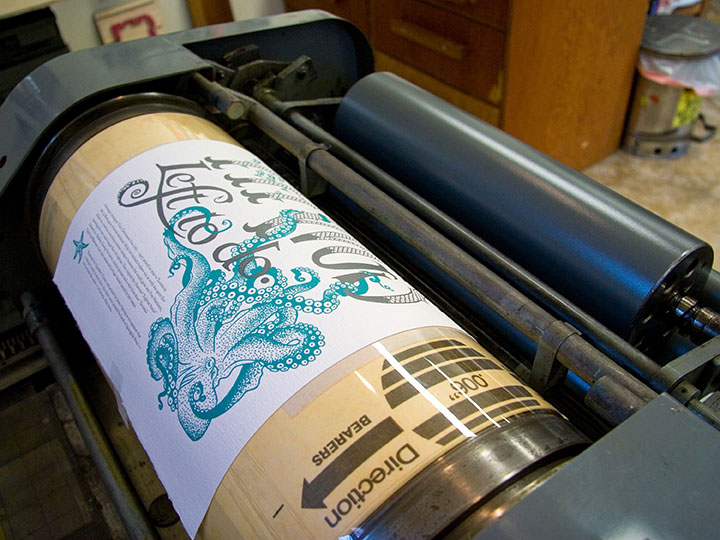
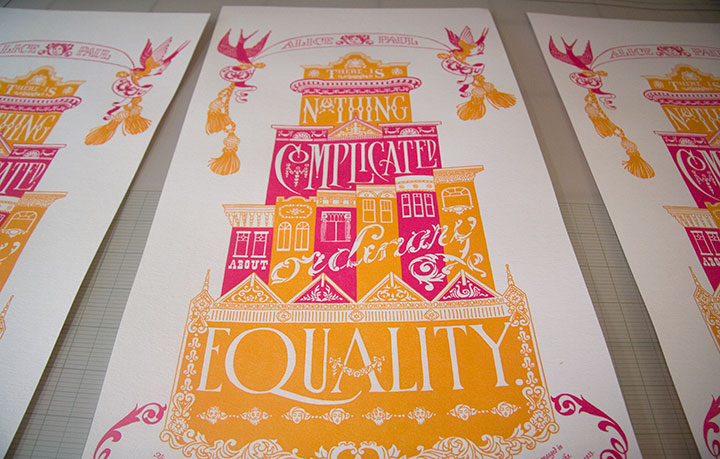
Here you can see the registration between the colors. This is the hard part—I’m sure that despite my best separation efforts and useful tick marks, Jessica is ready to tear her hair out whenever she sees what insane registration issues I’ve thrown at her this time. She’s not a master printer for nothing, though—tiny, 9-point colophon type? Large, solid color blocks? Exacting registration with no margin of error? She can handle anything.
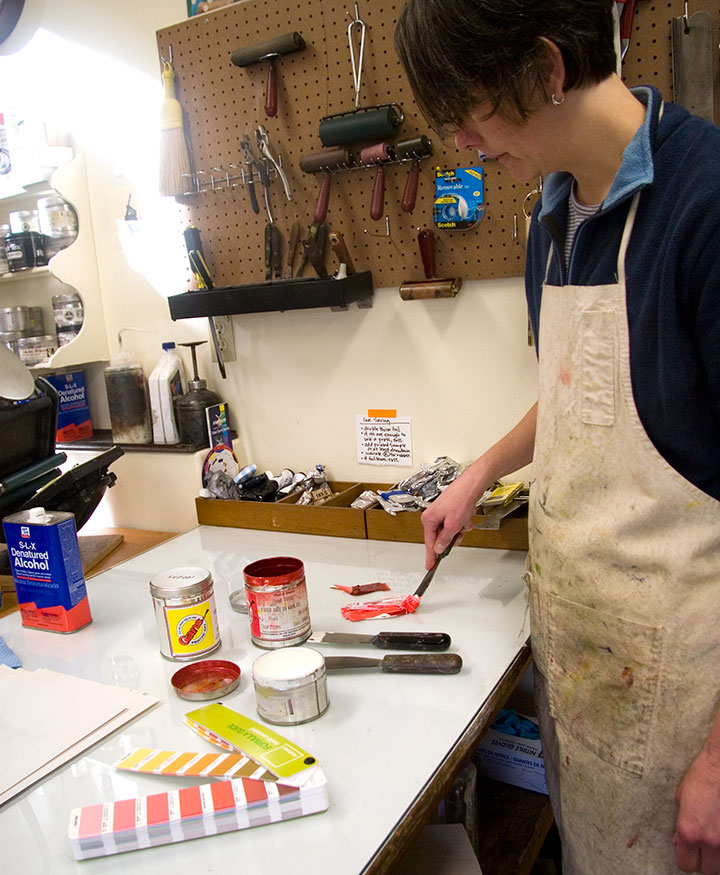
Actually printing these broadsides is where all our careful planning and preparation goes right out the window. We can sketch and plot as much as we like, but many of our artistic decisions end up being made on the fly, right on press. Here Jessica is mixing ink for Prop Cake, according to some choices I suggested in our handy-dandy color recipe book.
You can see our original draw-down (color test) in the upper left corner. So far, so good.
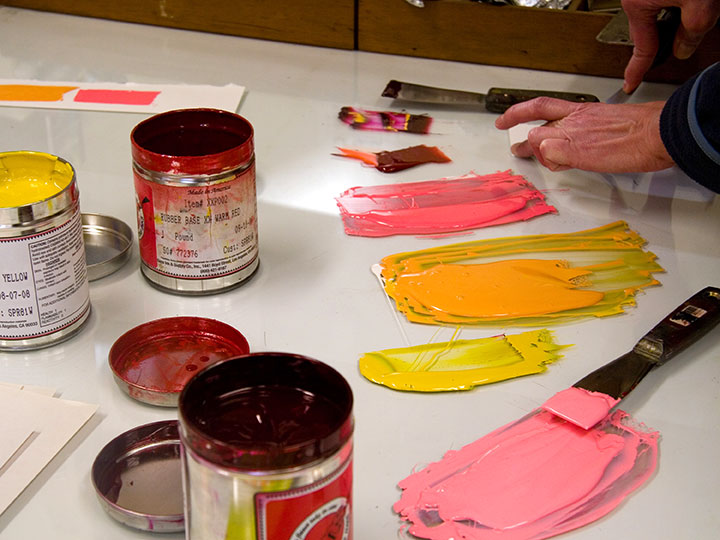
The orange turned out exactly as we’d hoped, but when we started printing the pink separation, we hated the result. What looked so good in the draw-down lost all its contrast in the print. It was awful, trust me.
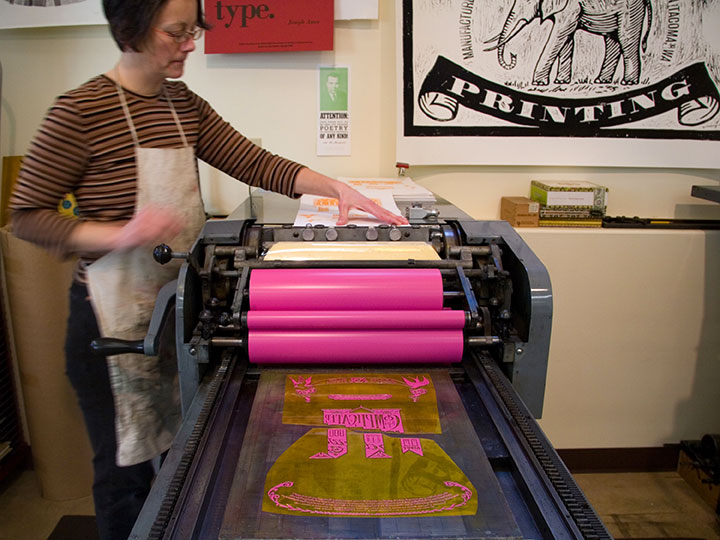
So Jessica changed the color right on press, until we were happy with it.
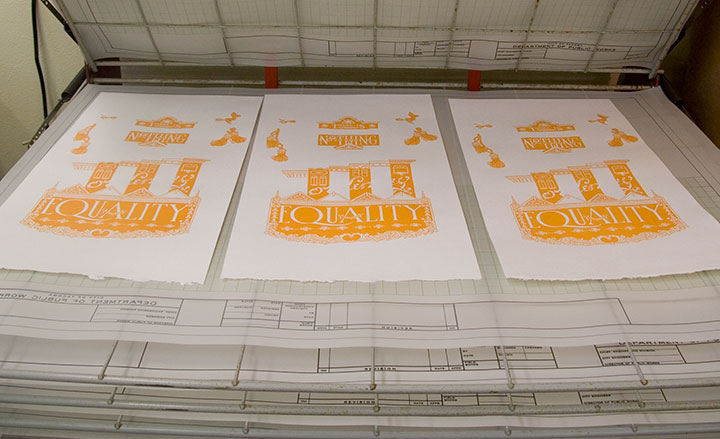
Here’s the finished product, all lined up in the drying rack.
If lining up the color areas is the hardest part of printing, keeping an eye on the ink consistency was probably the most fiddly. We’re using a very unusual paper for these prints—one made from recycled clothing—that is extremely “thirsty.” Not only are there inconsistencies in the paper that can throw off the overall quality of color; but we had to add ink to the press after every fourth or fifth print. As you can see, this is a pretty organic process—lots of variables, small corrections and compromises along the way. (And a whole lot of cursing and starting over.)
All of this is par for the course for a letterpress project—it’s an exacting, sometimes frustrating process, but that’s what we love about it. And the finished product … well, it’s like nothing else. Ah, letterpress, how we love thee.